Monday, June 18, 2012

Appliance Epoxy Paint on the XS650

I kept reading about people using appliance epoxy paint on their motorcycles, so I thought I'd give it a try.  This is the stuff I found at the local hardware store.  Also picked up some waterproof sand paper in 600 grit and a pack of pre-paint cloth from the auto store.
The red spray bottle is just water, no secret recipee.  The forks lower legs were washed then blown off with the air compressor and allowed to dry.  I kept the latex gloves on the whole time to keep my oily hands off the clean metal.  Once the metal was dry I put down a coat of self etching primer and let that dry, then some light wet sanding and more washing and drying.  Then, finally it was time for some Appliance epoxy paint to go on.
I'm pretty happy with the way outcome.  I added a few coats of clear enamel over the Appliance Epoxy paint just for a little extra shine.  Now it's time to put these legs back togethor.

Friday, June 15, 2012

Biltwell Keystone 7/8 black handlebars on the '83 XS650

Picked up some Biltwell bars (Keystones) in 7/8 black.  They look pretty rad with the Posh Factory grips. 

Tuesday, June 12, 2012

XS650 Fork Tubes and Lower Legs

I had a couple of XS650 legs lying around that I've been meaning to tear into.   I'm hoping to get one good set out of these 2 sets.  They were rusty and crusty in the usual places (fork seals, drain screw).  The best advice I can give anyone doing this for the first time is to take a chisel to the old fork seals.  Hit the fork seal all the way through with the chisel, at an angle, and then pry out the fork seal with a big flat head screw driver.  For rusty fork drain screws, clean up around the screw with a brass wire brush.  Then spray it with PB Blaster.  Let the spray work for a little while, then lightly tap around the screw with a chisel (just enough to unstick any rustyness).  At this point, clean up and dry off the screw area, then get the right size phillips head screw driver (the nicest newest one you've got) and put sufficient downward pressure to unscrew the screw.  

Monday, June 11, 2012

XS650 Solid Riser Bushing Installation

This is a super easy swap out type job that only takes a few minutes.  I unbolted the risers on the '83 and lifted the bars right up.  You will probably have to fish out the little R-pin at the bottom of each riser before they can be unscrewed.  Small needle nose pliers work perfectly for that.  Once you've got the bars lifted out you should see the original rubber bushings.  Pulling out the bars should have loosened them up a little bit.  Twist and pull out the old rubber top bushings first, then insert a medium size screw driver down threw the bottom bushing and tap it out.  Now it's time to clean up that area a little. 

Solid Riser Bushings part #2

Once you pop out the old rubber bushings with a screw driver, clean up the messy area where they were. Then your ready to pop in your new aluminum bushings.  These things will slide right in with a little WD-40. 

Solid Riser Bushings part #3

Here is a close up of the new bushings installed.  These bushings are simple, clean and reliable and I like these things a lot.  Now what should I do with the rest of this front end area? 

Solid Riser Bushing part #4

Here is a pick of the front end of the '83 with the riser bushings installed.  Notice the turn signal lights, speedo and tachometer are gone.  They came out really easily.  Just a couple of bolts and disconnecting a couple of wire connectors inside of the headlight housing.  I was hoping to clean this area up even more, but at this point it was time to go for a ride. 

Saturday, April 21, 2012

Filling in more holes

A couple of these actually look like real welds.  Had to grind these and sand them out to make this fender look descent.  This fender had about 9 holes in it.  Mig welding sheet metal with holes was kind of challenging.  I got a lot of practice and learned a lot doing this though.  I put a piece of copper behind the hole and had to play around with the wire feed speed.  Some anti spatter spray would have helped.

Flux core mig weld, on a trailer fender to fill in some holes


This was the fender I was practicing on before.  It had a bunch of holes in it.  Well today I watched a bunch of welding videos on youtube and got myself psyched up to weld up some stuff.  It's not the prettiest weld, but you got to start somewhere right

Thursday, April 19, 2012

Mounting a gas tank on an XS650


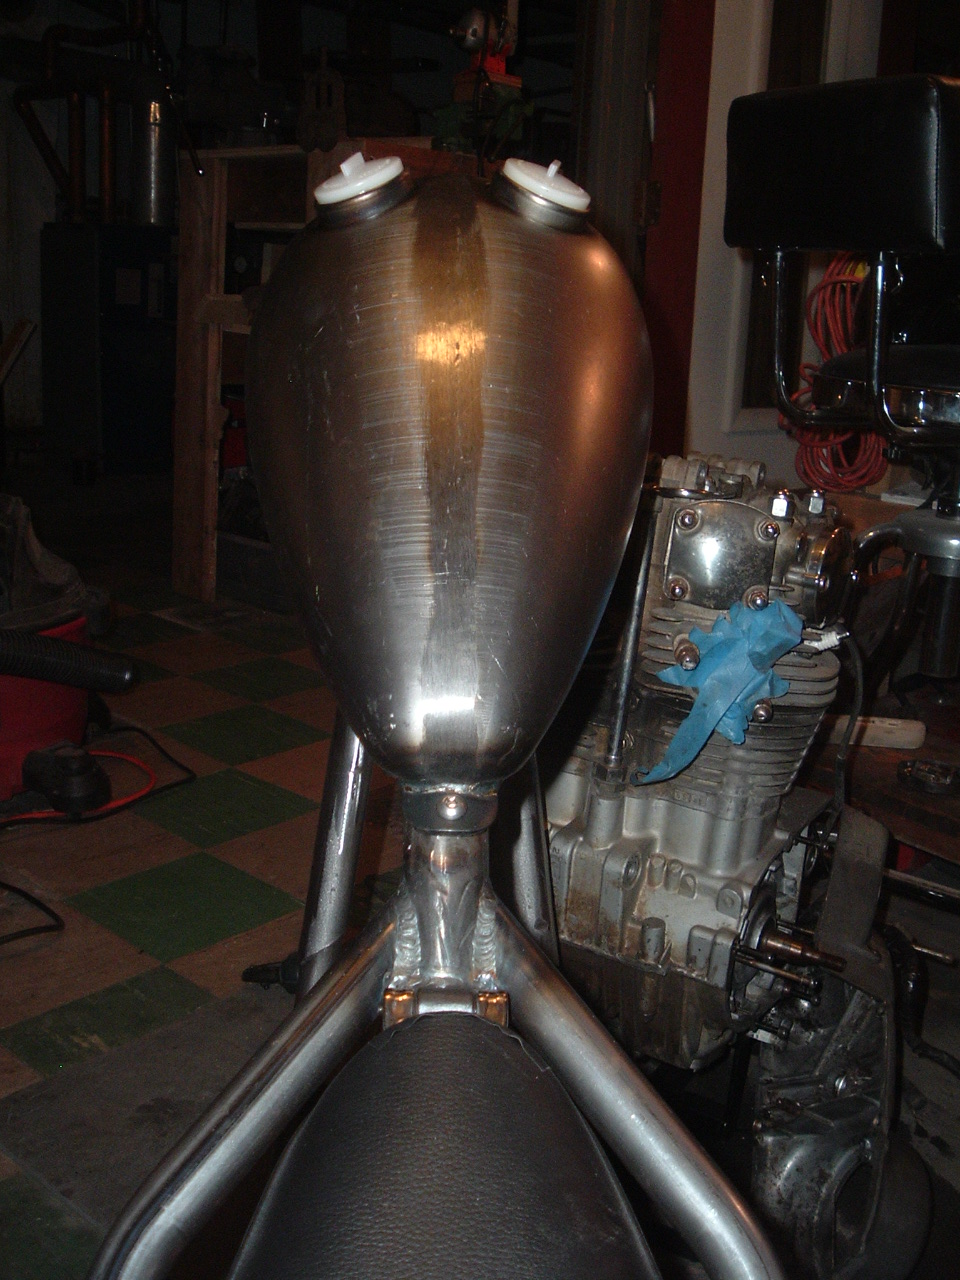
Here are a couple of photos from last night.  The tank mounting bungs came from Hugh's Handbuilt and the stainless steel hex screws came via egay.  

Tuesday, April 17, 2012

A broken swingarm bolt grease fitting for XS650

When I was greasing the swingarm for the '83 650 I busted off the end of my m6 size zerk fitting pulling off a grease gun.  Had to break out a screw extractor bit and an adjustable tap handle wrench to back out the broken piece.  Most auto stores carry these metric fittings in packs.   

Friday, April 6, 2012

XS650 Oil Change

I had today off of work, so I changed the oil in the '83 XS650.  Here are a few photos...

Monday, April 2, 2012